When your patient asks for a smile mockup, the photos you take are what we’ll use to design it. The mockup helps the patient visualize their new smile — and a good photo makes all the difference in how they feel about it.
Everyone is a little picky about their photos, so we want to make sure the image flatters your patient and represents their smile accurately.
Here’s how to take great mockup photos — it’s easy!
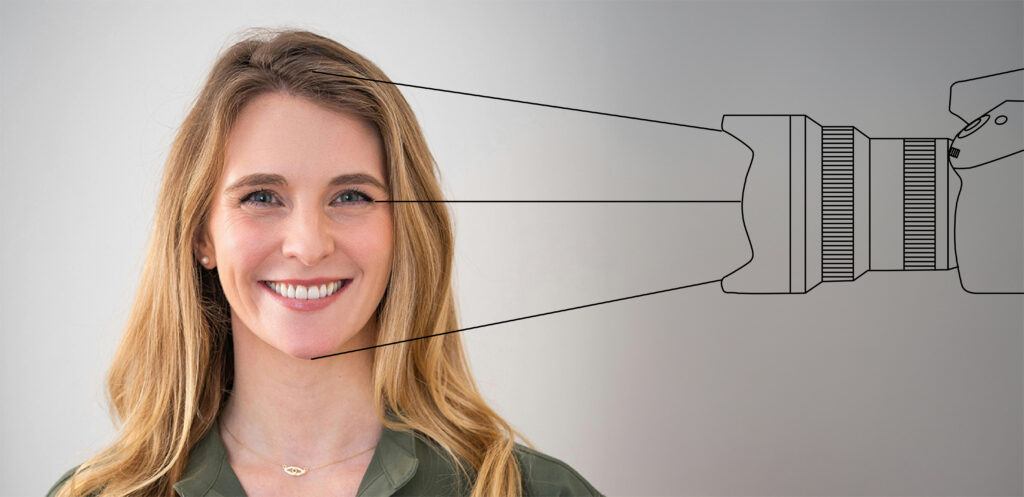
1. Use the Right Equipment
- A professional camera will always give the best results — sharp, clear, and true to life.
- If you don’t have one, a good smartphone camera works too! Just make sure the lens is clean and the photo is well lit.
- If you’re using a camera, consider simple lighting equipment to even out the shadows.
- If you’d like to learn more, this Clinical Photography Manual by Dentsply Sirona is a great reference.
2. Lighting Tips
Good lighting can completely change how a smile looks in a photo.
If your operatory or consultation room has plenty of natural light, that’s perfect — position the patient near a window where the daylight is soft and even. Avoid harsh direct sunlight, which can create strong shadows or make the face look uneven.
If the room is darker or the light comes only from above, add a ring light or another small light source in front of the patient. The goal is simple: even, natural-looking light that shows the smile clearly and doesn’t wash out the color of the teeth or skin.
Think “bright and soft,” not “flashy and dramatic.”
3. The Photos We Need
Photo 1: Natural Smile
- Patient smiling naturally
- Face straight forward, looking at the camera
- Keep the camera at eye level
- Don’t stand too close — give a bit of space so the face doesn’t look distorted
Photo 2: Retracted Smile (if needed)
- Take this one only if the gums don’t show in the first photo
- Use retractors to gently pull the lips back so we can see the gums and full tooth shape
4. Why It Matters
The patient’s decision often depends on how the mockup looks in the photo. A great image helps them see what’s possible and say “Yes, that’s the smile I want.”
Good photos also help us design more precisely — so the final result matches what the patient saw in the mockup.
That’s It!
Just two simple photos — one natural, one retracted — and we can take it from there.
If you’re ever unsure, send us what you have, and we’ll guide you through the next step.